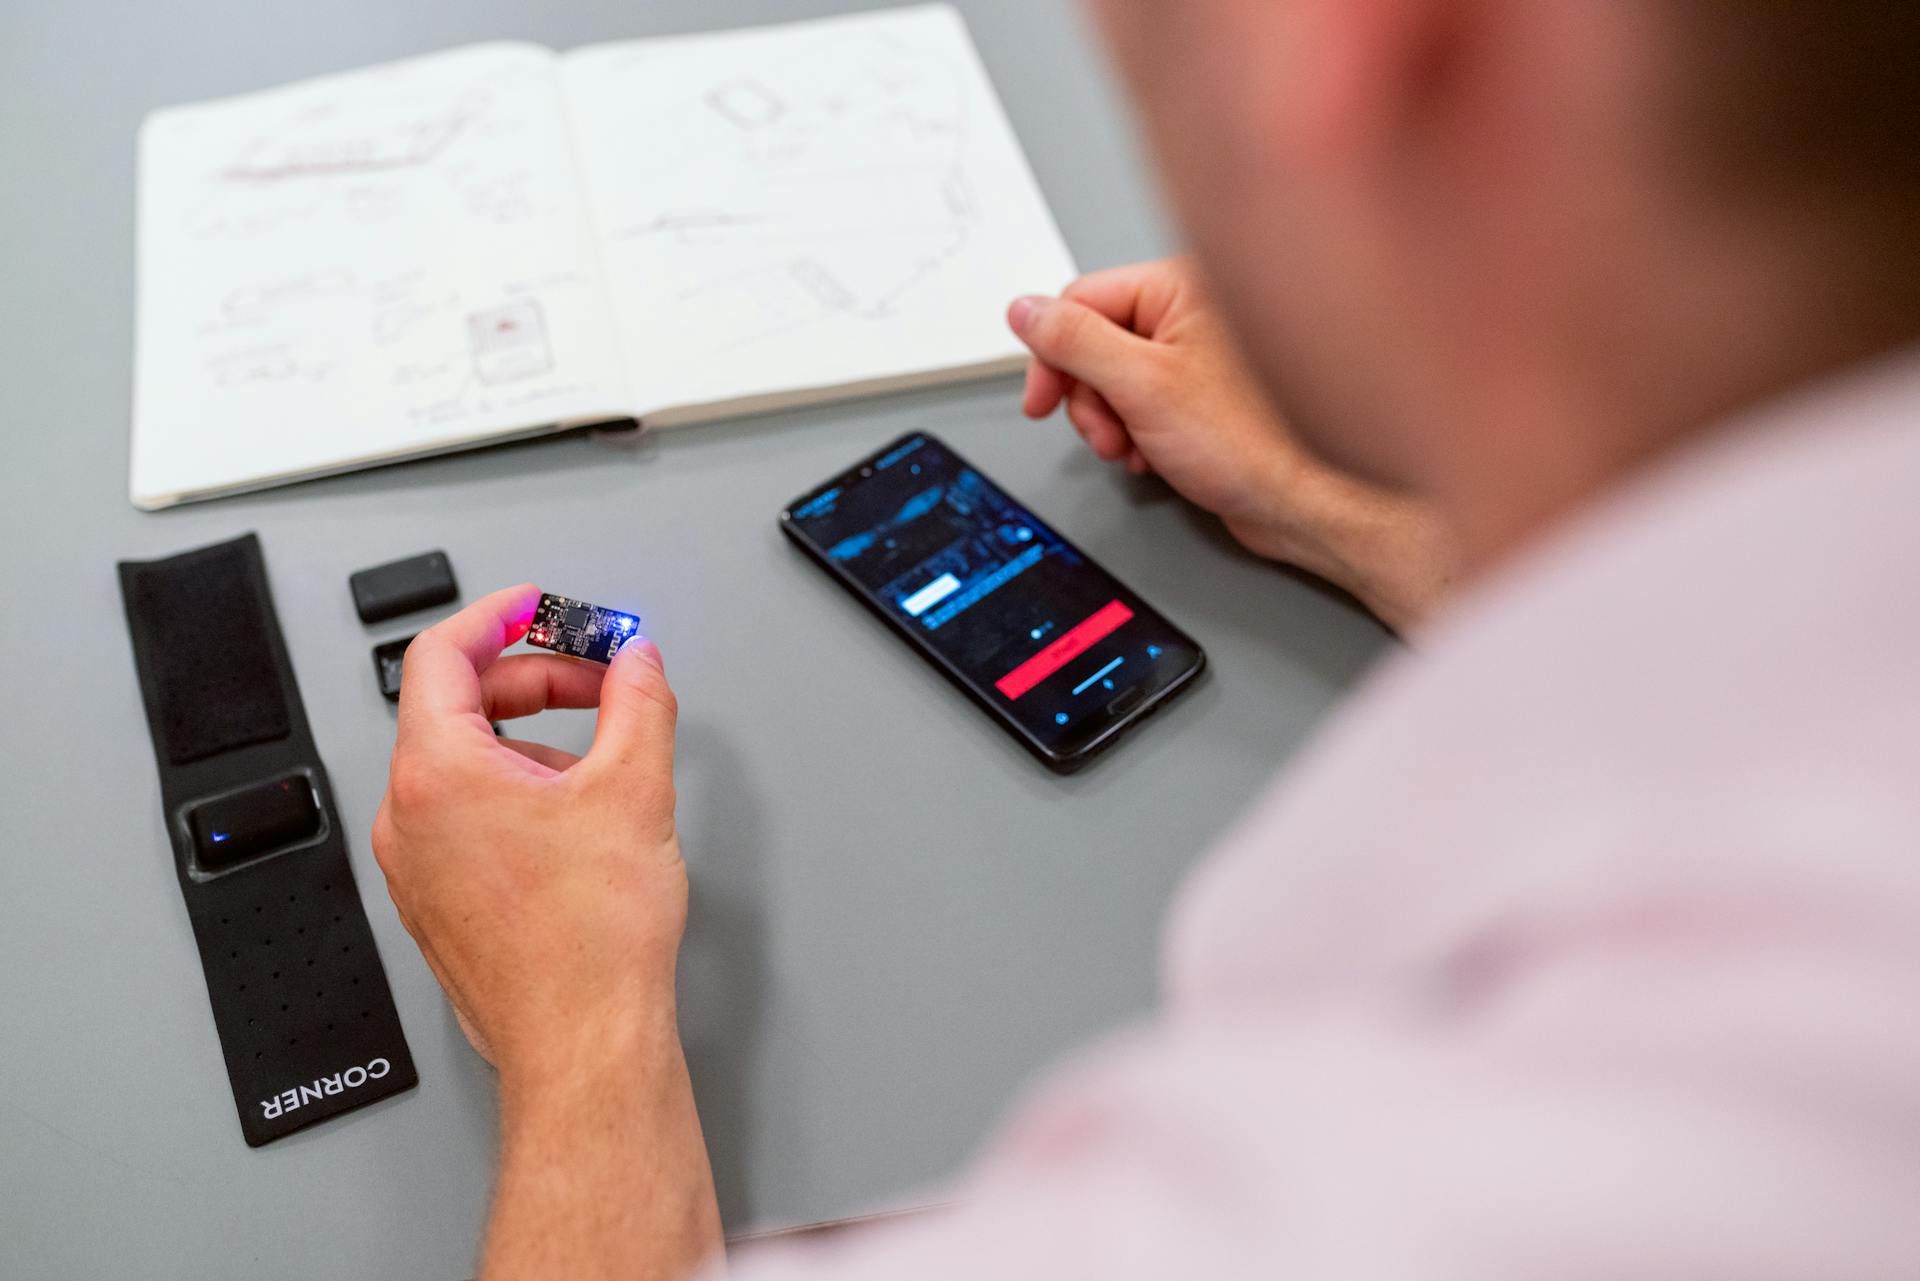
Learning to code with Arduino can seem daunting at first, but with the right guidance, you'll be creating your own projects in no time.
Arduino is an open-source electronics platform that's perfect for beginners, with a vast community of enthusiasts and experts who share their knowledge and projects online.
You can start with the basics, such as understanding the Arduino board's components, including the microcontroller, input/output pins, and power supply.
The Arduino IDE is a user-friendly interface that allows you to write, upload, and debug your code, making it easy to get started with programming.
Basic Projects
If you're just starting out with Arduino, you'll want to begin with some basic projects to get a feel for how the platform works.
Blinking an LED is a classic first project, and for good reason - it's a simple yet effective way to learn the basics of digital output.
To blink an LED, you'll need to connect it to a digital pin on your Arduino board and use a simple loop to toggle the pin on and off.
You can also try blinking two LEDs, which requires a bit more complexity but still only a few lines of code.
Blinking multiple LEDs using a loop is another great option, as it allows you to easily add or remove LEDs from your circuit.
Here are some basic projects to get you started:
- Blinking an LED
- Blinking Two LEDs
- Blinking various LEDs using Arrays
- Blinking multiple LEDs using loop
- Blinking multiple LEDs using switch case
Programming Fundamentals
The basic Arduino code logic is an "if-then" structure. This means you'll be writing code that checks a condition and then takes a specific action based on that condition.
The Arduino code can be divided into 4 blocks: Setup, Input, Manipulate Data, and Output. The Setup block performs things that need to be done only once, such as sensor calibration.
In the Input block, you read the inputs, which will be used as conditions. For example, you might use analogRead() to get a reading from an LDR.
The Manipulate Data block is used to transform the data into a more convenient form or perform calculations. This is where you might map a reading from 0-1023 to a range of 0-255.
What is a Microcontroller?
A microcontroller is the chip at the heart of any Arduino board. It's a tiny computer that can read inputs, process data, and control outputs.
Microcontrollers are the brains of the operation, and they're what make your Arduino projects come to life. They're essentially a small, self-contained system that can be programmed to perform a wide range of tasks.
The chip at the heart of any Arduino board is a microcontroller, which is an integrated circuit that contains a processor, memory, and input/output peripherals. This tiny computer can be programmed using the Arduino environment.
Libraries
Libraries are a crucial part of the Arduino programming world, allowing you to use pre-written code to simplify complex applications.
You can find built-in libraries that provide basic functionality, or import external libraries to expand your Arduino board's capabilities and features.
To import a new library, go to Sketch > Import Library and pick from the available libraries. This will insert an #include statement at the top of your sketch for each header (.h) file in the library's folder.
These statements make the public functions and constants defined by the library available to your sketch. They also signal the Arduino environment to link that library's code with your sketch when it's compiled or uploaded.
To use an existing library in a sketch, simply go to the Sketch menu, choose "Import Library", and pick from the libraries available. This is a convenient way to add functionality to your projects without having to write everything from scratch.
To install a third-party library, download the library's zip file to the Arduino folder of your computer, extract the library to its own folder, and restart the Arduino IDE to use the library.
By using libraries, you can create custom libraries to use in isolated sketches, or include external libraries at the top of your .ino file using the '#include' statement.
Serial Monitor and Plotter
The serial monitor is a powerful tool for interacting with your Arduino board using your computer, and it's a great tool for real-time monitoring and debugging.
To open the serial monitor, click on the magnifying glass icon on the upper right side of the IDE or under tools.
The serial monitor allows you to use the Serial class to interact with your Arduino board.
You can use the serial plotter to generate a real-time graph of your serial data, making it easier to analyze your data through a visual display.
The serial plotter can create graphs, negative value graphs, and conduct waveform analysis.
Delay
Delay is a fundamental concept in programming that allows you to pause the execution of your code for a specified duration.
The delay() function is used to halt program execution, and it's measured in milliseconds. In fact, 1 second equals 1000 milliseconds.
For example, delay(5000) means your program will stop for 5 seconds. This can be very useful when you need to create a pause between actions.
You can use the delay() function in conjunction with other functions, like digitalWrite(), to create more complex programs. For instance, digitalWrite(12, HIGH); and digitalWrite(12, LOW); can be used to control a digital pin.
The delay() function is a simple yet powerful tool that can help you create more interactive and engaging programs.
For another approach, see: Best Way to Learn to Code Veteran Programs
Sensors and Control
As you start to explore the world of Arduino, you'll quickly discover that sensors and control are a crucial part of any project. You can use Arduino sensors to detect light, motion, temperature, and even distance.
You can choose from a variety of sensors, such as an LDR, accelerometer, ultrasonic distance sensor, ultrasonic range finder, temperature sensor, or motion sensor.
When it comes to controlling motors, Arduino offers several options, including stepper motors, servo motors, and DC motors. You can even use a potentiometer to control a servo motor.
Here are some common Arduino sensors and control devices:
- Arduino LDR (Light Dependent Resistor)
- Arduino Accelerometer
- Ultrasonic distance sensor
- Ultrasonic Range finder
- Temperature Sensor
- Arduino Motion Sensor
- Arduino Stepper motor
- Arduino Servo Motor
- Arduino DC motor
Building a Breadboard Circuit
Building a breadboard circuit is a great way to get started with electronics. You'll need a breadboard, jumper wires, resistors, LEDs, and buttons.
A breadboard is a platform that allows you to easily connect components without soldering. You can find a wiring diagram for a simple circuit in the article.
To build a circuit, start by placing the components on the breadboard, such as LEDs and buttons. Make sure to follow the wiring diagram for the correct connections.
Resistors are used to limit the current flowing through the circuit, and they come in different values. You can use a 220-ohm resistor for a basic circuit.
Jumper wires are used to connect the components to the breadboard. Make sure to strip the ends to ensure a good connection.
A breadboard circuit is a great way to test and experiment with different components and ideas. With practice, you'll become more comfortable with breadboarding and be able to create more complex circuits.
Discover more: Is Transfer Learning Different than Deep Learning
Sensors
Sensors are an essential part of any project that involves interacting with the physical world. They allow us to gather data from the environment and make decisions based on that data.
Arduino offers a wide range of sensors that can be used for various applications. Some examples include the LDR, which is a light-dependent resistor, and the Accelerometer, which measures acceleration.
There are also sensors that allow us to measure distance and temperature. The Ultrasonic distance sensor and the Temperature Sensor are two examples of these. The Ultrasonic range finder is another type of sensor that can be used to measure distance.
Here's a list of some of the sensors mentioned earlier:
- LDR (Light-Dependent Resistor)
- Accelerometer
- Ultrasonic distance sensor
- Ultrasonic Range finder
- Temperature Sensor
- Motion Sensor
These sensors can be interfaced with the Arduino board using various protocols, including SPI and I2C. SPI is a serial communication protocol that can be used to send and receive data between devices. The SPI interface is commonly used in Arduino projects that involve sensors and other devices.
I2C is another serial communication protocol that can be used to interface with sensors and other devices. It's a two-wire protocol that allows devices to communicate with each other in a master-slave configuration.
Control
Control is a crucial aspect of working with sensors, and there are several ways to control different types of devices. You can use an Arduino Stepper motor to control precise movements.
If you need to control a motor more smoothly, consider using an Arduino Servo Motor. It's a great option for applications where precision is key. I've seen it used in robotics and other projects where precise control is necessary.
Another option is to use an Arduino Servomotor with a Potentiometer. This allows you to control the motor's speed and direction by adjusting the potentiometer's value. It's a simple yet effective solution.
For applications where a DC motor is needed, you can use an Arduino DC motor. It's a straightforward option that's easy to set up and use.
Here are some options for controlling motors with Arduino:
- Arduino Stepper motor
- Arduino Servo Motor
- Arduino Servomotor using Potentiometer
- Arduino DC motor
Pinout
A sensor's pinout is a crucial aspect of its functionality, determining how it connects to a circuit or device. The pinout of a sensor typically includes three main pins: VCC, GND, and OUT.
The VCC pin provides power to the sensor, while the GND pin connects to the circuit's ground. This pinout is essential for understanding how to connect sensors to a microcontroller or other device.
In the case of a temperature sensor, the pinout is usually straightforward, with the VCC pin connected to the sensor's power source and the GND pin connected to the circuit's ground. The OUT pin then sends the sensor's output to the microcontroller.
The pinout of a sensor can vary depending on its type and application, but understanding the basics is essential for successful implementation.
Pin Mode in Input
To set a pin to input mode, you need to use the pinMode() function and specify the pin and mode as INPUT.
The INPUT mode turns off the low state and sets the high state as the ultimate state, which can be useful for reading inputs from external devices.
You can also use INPUT_PULLUP mode, which provides a sufficient current to light an LED connected to the pin dimly, indicating that the condition is operational.
This mode is often used alongside an external pull-down resistor to ensure proper functionality.
In INPUT mode, if the LED emits a dim light, it signifies that this condition is operational, but setting the pin to OUTPUT mode is generally recommended to ensure proper functionality.
EEPROM Data Manipulation
EEPROM stands for Electrically Erasable Programmable Read-Only Memory, and it's a type of non-volatile memory that can be erased and reprogrammed with new data.
EEPROM is commonly used in sensors and control systems because it can store small amounts of data, such as calibration settings or sensor readings.
Data manipulation in EEPROM involves writing, reading, and erasing data, which can be done using specific commands and protocols.
EEPROM data can be written in a byte-by-byte fashion, with each byte representing a single piece of information.
EEPROM data can be read in a similar way to how it's written, with the microcontroller accessing the data one byte at a time.
EEPROM data can be erased by applying a specific voltage to the chip, which resets the memory to its default state.
In most microcontrollers, EEPROM data is stored in a separate memory space from the main program memory, which helps prevent accidental erasure of program data.
EEPROM data manipulation is an essential aspect of sensor and control system design, as it allows for the storage and retrieval of critical data that can affect system performance and accuracy.
Interrupts
Interrupts are a great way to increase your program's efficiency when dealing with hardware inputs. They allow your program to respond to external events without constantly polling the input.
You may have heard of interrupt debouncing, which is a technique used to eliminate noise in digital signals. Interrupt debouncing is implemented using a specific source code.
Interrupts can be used in conjunction with sensors and control systems to create a more efficient and responsive system.
Advanced Topics
As you progress in your Arduino coding journey, you'll encounter more complex concepts. Here are some advanced topics to look out for.
Arduino Switch is a fundamental concept that allows you to read and write digital signals, which is essential for creating interactive projects.
In your projects, you'll often need to read inputs from sensors or switches. This is where the Arduino Switch comes in handy.
To create more sophisticated projects, you'll need to understand how to use the Arduino Library, which provides a wide range of functions and classes for various tasks.
The Arduino Library is a treasure trove of pre-written code that saves you time and effort.
You can also use the Arduino Interrupt feature to handle events and interrupts in your code.
An Arduino Interrupt is a signal that interrupts the normal flow of your program, allowing you to respond to events in real-time.
To communicate with other devices, you can use the Arduino SPI (Serial Peripheral Interface) protocol.
Arduino SPI allows you to transfer data between devices at high speeds.
You can also use the Arduino LCD Display to create interactive displays for your projects.
The Arduino LCD Display is a great way to add a user interface to your projects.
Lastly, the Arduino Button is a simple but essential component that allows you to read digital inputs from buttons and switches.
The Arduino Button is a great way to create interactive projects that respond to user input.
If this caught your attention, see: Liftmaster Purple Learn Button Code
Debugging
Debugging is a crucial part of the coding process, and Arduino makes it relatively easy with a few key tools.
Arduino doesn't have an onboard debugger, so you'll need to rely on third-party software or the serial monitor to track down those pesky bugs.
The Serial class is your friend here, allowing you to print to the serial monitor and debug comments and values of variables.
On most Arduino models, this will be using serial pins 0 and 1, which are connected to the USB port.
This means you can print out the active processes in your code for monitoring and debugging purposes.
By using the serial monitor, you can get a better understanding of what's going on in your code and make adjustments as needed.
Powering and Connecting
Powering and connecting your Arduino is where the magic begins. You'll need to learn about the various ways to power it, and how to connect it to your computer for uploading programs and communicating through the serial port.
First, you'll need to understand the power layout of your Arduino. This is explained in the "Arduino Power Layout" section, where you'll discover the different voltage and current ratings for your board.
You can power your Arduino using a USB cable, which is a convenient and easy way to get started. This method is great for beginners, and it's what I used when I first started learning to code with Arduino.
Another option is to use a wall adapter or battery pack, which is perfect for projects that require more power or need to be portable. Just make sure to check the voltage and current ratings to ensure they match your Arduino's requirements.
Connecting your Arduino to your computer is also crucial. You'll need to use a USB cable to establish a connection, and then you can upload your programs and communicate with the serial port. This is a fundamental step in the learning process, and it's what allows you to bring your ideas to life.
Frequently Asked Questions
Is Arduino difficult to learn?
Arduino is easy to learn due to its simple syntax, making it accessible to beginners. Its intuitive design also means you can start creating projects quickly.
Is Arduino code C or C++?
Arduino code is written in C++ by default, utilizing the ArduinoIoTCloud and Arduino_ConnectionHandler libraries for cloud connectivity.
How long does it take to learn Arduino code?
Mastering Arduino code basics typically takes 3-4 months, with consistent practice and dedication. With this foundation, you can build upon your skills and explore more advanced concepts.
Featured Images: pexels.com


